1.1 什么是@Component注解
@Component是Spring框架中一个基础而重要的注解。它就像一个标签,贴在Java类上,告诉Spring:"嘿,这个类需要你来管理"。Spring看到这个标签后,就会自动创建这个类的实例,并把它放进自己的"容器"里随时待命。
我记得刚开始学Spring时,总是手动在XML配置文件里写bean定义。后来发现@Component注解,简直像发现了新大陆。原来只需在类上加个简单注解,Spring就能自动完成所有工作。
@Component本质上是个泛型注解,适用于各种类型的组件。它把类的创建和管理权交给了Spring容器,让我们从繁琐的配置中解放出来。
1.2 @Component在Spring框架中的定位
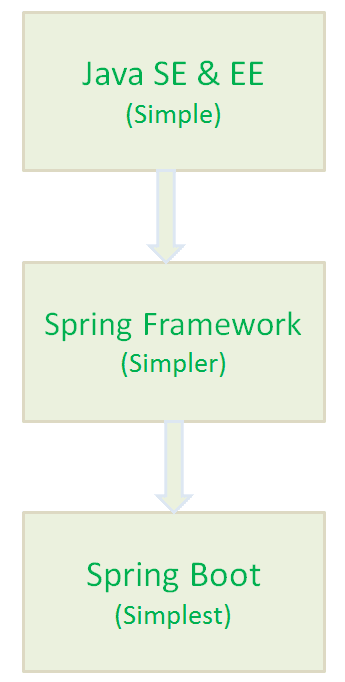
在Spring的注解体系中,@Component处于最核心的位置。它是整个基于注解的配置体系的基石。其他常用的@Service、@Repository、@Controller注解,其实都是@Component的"特化版本"。
Spring框架通过组件扫描机制,自动发现带有@Component及其衍生注解的类。这个过程就像Spring拿着探测器,在指定的包路径下寻找这些特殊标记的类。
@Component注解让Spring的依赖注入变得更加简单直接。我们不再需要写复杂的XML配置,代码变得清晰易读。这种设计确实很巧妙,大大提升了开发效率。
1.3 为什么需要@Component注解
想象一下,如果没有@Component注解,我们要在Spring中使用一个类,必须在XML文件中手动配置bean定义。项目规模稍大时,配置文件就会变得臃肿不堪,维护起来相当头疼。
@Component注解的出现,实现了"约定优于配置"的理念。我们只需要遵循简单的规则——在类上加注解,剩下的工作Spring都会自动完成。这种自动化的方式减少了大量样板代码。
从架构角度看,@Component促进了更好的代码组织。它让我们自然而然地按照功能模块来划分组件,每个组件职责单一,耦合度低。这种设计让代码更容易测试和维护。
我遇到过不少初学者,刚开始觉得注解很神秘。其实理解之后就会发现,@Component就是Spring帮我们自动化管理对象的一种方式。它让我们的注意力可以更多地集中在业务逻辑上,而不是框架配置上。 @Component public class UserService {
// 类实现
}
@Service public class UserService {
public User createUser(String username, String email) {
    // 用户创建的业务逻辑
    return new User(username, email);
}
}
@Component("userManagementService") public class UserService {
// 类实现
}
@Service public class OrderProcessingService {
private final InventoryService inventoryService;
private final PaymentService paymentService;
private final NotificationService notificationService;

public OrderProcessingService(InventoryService inventoryService,
                             PaymentService paymentService,
                             NotificationService notificationService) {
    this.inventoryService = inventoryService;
    this.paymentService = paymentService;
    this.notificationService = notificationService;
}

public OrderResult processOrder(OrderRequest request) {
    // 库存检查
    inventoryService.checkAvailability(request.getItems());
    // 支付处理
    PaymentResult paymentResult = paymentService.processPayment(request);
    // 订单创建
    Order order = createOrder(request, paymentResult);
    // 通知用户
    notificationService.sendOrderConfirmation(order);

    return new OrderResult(order, paymentResult);
}
}
// 错误示例:XML配置和注解同时使用 @Component public class UserService {
// 类实现
}
// XML配置文件中同时配置了
//